Building the floating wall: sheetrock and painting.
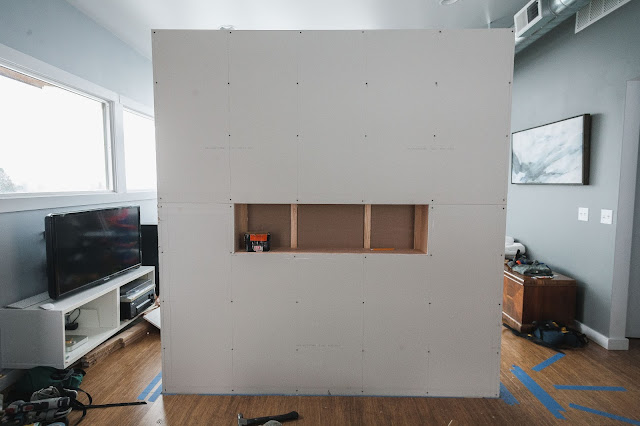
Now that the planning, the finding a joist, and, most importantly, the engineering are complete, it was time to hang the sheetrock and paint this thing. Because of a narrow set of stairs, I wasn't quite sure how to get the panels up to our bedroom, other than heaving them up to our balcony with a rope like we've done in the past for some furniture. Turns out, cutting them from 96" to the 80" length of the wall made it possible to, well, heave them up the stairs. Phew. With that out of the way, I could attach them, break out my mudding tools, and finally paint.
After all of that, our floating wall is looking almost finished.
Backing up a bit, I had to get the panels on the frame. I cutout the hole for the built-in shelf outside on our balcony. In the snow.
Then K inscribed a note to anyone who moves in but, unlike us, is a morning person and prefers waking up with the sun. S helped.
Then it was time to mud. I went down to the garage, pulled out my blue bin of drywall tools, and grabbed what I needed. On the way back upstairs, I mentioned to K how I like doing projects where we already have all the tools. Also, that we've done before.
I've blogged about the process of doing drywall work in our old house. It's still the same. A thin line of mud along the seam to hold the tape.
Then progressively wider swaths of mud, using progressively wider knives to scrape them off. Repeat at least three times. No sanding in between coats.
When I thought I was done, I broke out my Truth Light.
Regrettably, the truth it hath revealed was that I was not done. The side that faces the living area of our bedroom gets a shit-ton of light. That's pretty much the reason we've been building this monstrosity. It's like a ginormous Truth Light shining during all hours of the day. The seam, sadly, must be perfect.
It's not.
Short of tearing down that side of the wall and starting over, the only way to attempt fixing the seam is cutting the tape buried under a bunch of layers of mud. Then scraping and sanding all of that down until I'm back to the beginning, roughly. Starting over with a new piece of tape and, hopefully, smoother progressively-wider layers of mud.
That impending fix didn't stop me from painting, however. The color we chose is the same as the accent wall behind our bed, Valspar 4004-2B Ocean Storm.
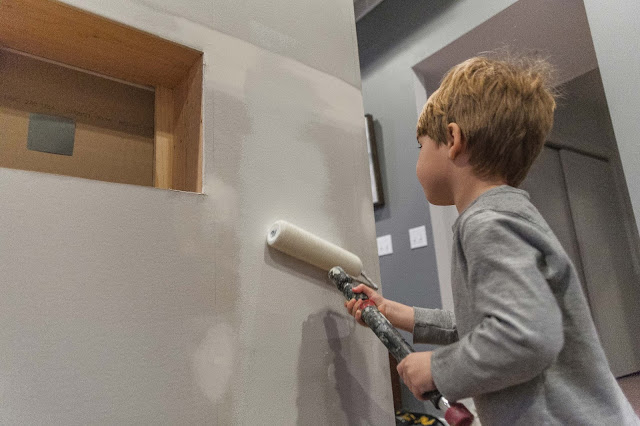
First I primed both sides. I had some help.
Then rolled on the Ocean Storm.
Except for having to redo that seam, bother all, our floating wall is standing, it's solid, and it's painted. Our engineering worked.
That leaves all the trim work to finish. Considering I'm going to miter everything, that may take some time. Meanwhile, we're enjoying the privacy and separateness-while-at-the-same-time-still-openness our new floating wall has created.


